-
iPoint
 iPoint-systems
iPoint is your partner for Product Compliance and Sustainability
e!Sankey Tutorials
The video tutorials on the e!Sankey YouTube channel will help you learn the most important functions of the software. The videos are only 2-3 minutes each, video on Live Link to Microsoft Excel is 10 mins.
The main windows in e!Sankey
In this video tutorial you will get an introduction of the main elements (windows) of e!Sankey: the drawing area of the Editor, the Properties dialog, the Entries window, and the Controller.
First Steps: Drawing a Sankey diagram in e!Sankey
This video will show you the first basic steps to draw a Sankey diagram in e!Sankey. You learn how to place process symbols and draw an arrow between them. Then you can add a flow in the Sankey arrow and specify a flow quantity. These basic steps are all you need to remember to draw Sankey diagams.
Arrow points, waypoints and arrow routing
Learn about the arrow points and waypoints for Sankey arrows and how they can be used to determine the routing of arrows in the diagrams made with e!Sankey.
Connectivity: How arrows connect to processes
This video explains how arrows behave when processes they are connected to are moved in the Sankey diagram. The 'Connectivity' setting in the process properties determine to which side of the process (left, top, right, bottom) the arrow connects to. By default it is set to 'Free', and the arrow will just take the shortest route. As you choose another setting for connectivity in e!Sankey, the arrow is forced to attach to a process on a specific side.
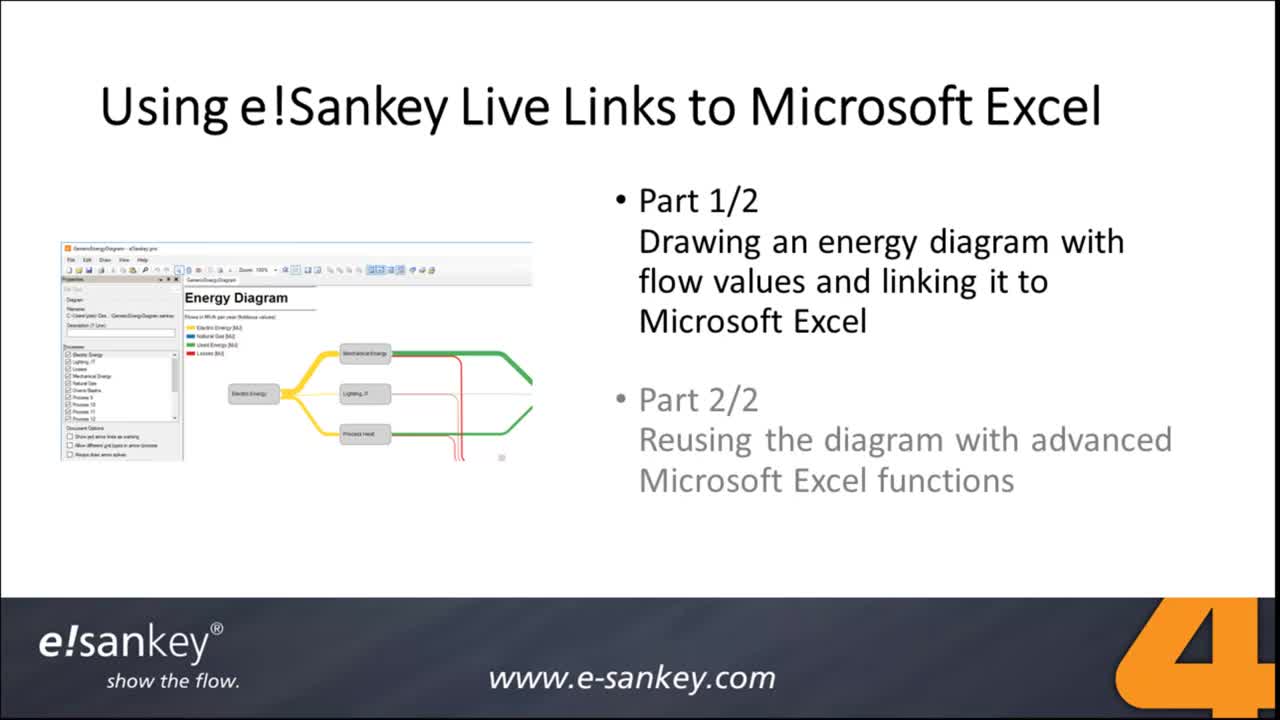
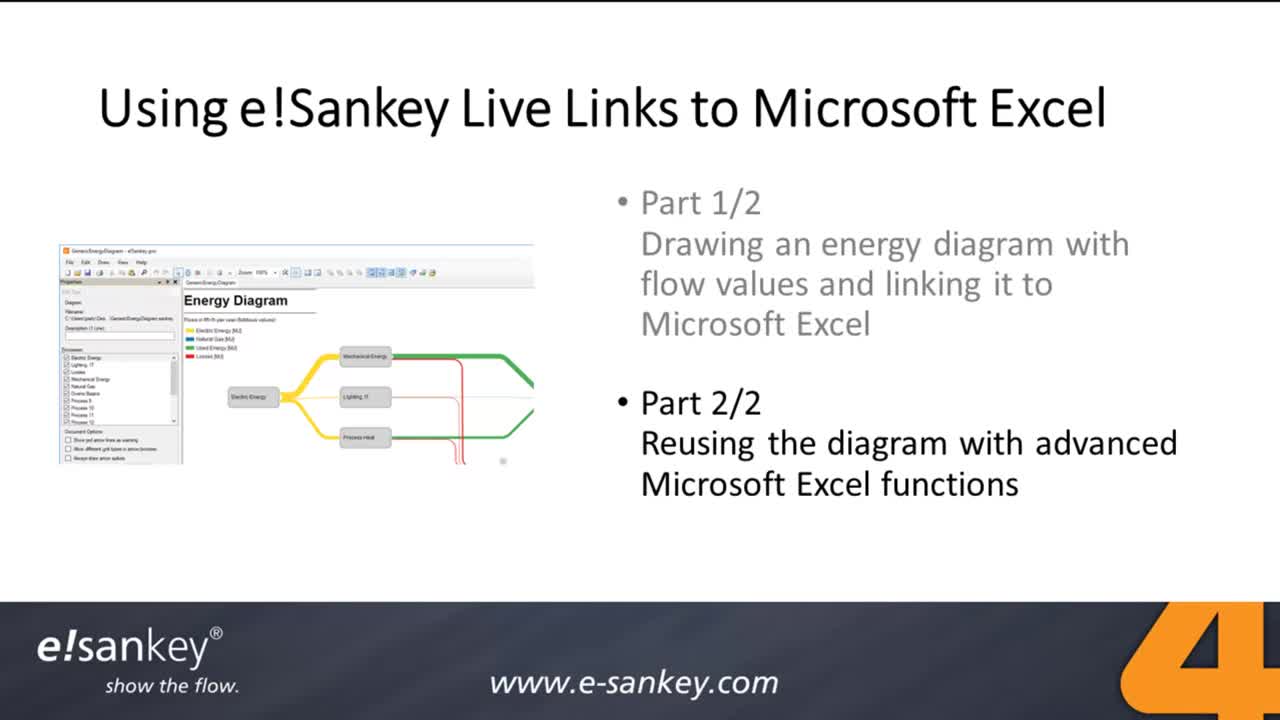
e!Sankey Live Link to Microsoft Excel - Part 1
This video tutorial will show you how to link to cells in a Microsoft Excel worksheet and feed a Sankey diagram with data.
e!Sankey Live Link to Microsoft Excel - Part 2
In this sequel to the Live Link video Part 1 we demonstrate how to update an e!Sankey diagram with data series from different years using Excel functions.